Thursday, March 27, 2025

SKETCH CARD


Hello stamping friends, today I am bringing you a sketch card that I am entering into a challenge with creating with Kristina.  I really love watching her videos.  This is for this week's sketch challenge and ends on April 1st (No April Fools) 😜.

See link of her site below.

The card base is stamped with a dots all over, I added two banners and I  distressed them on both sides.  For the focal point, I used a flower with a butterfly and a leave,  and added a thinking of you sentiment.  this was a very simple card but makes a statement.  The colors I chose, are jade, pink, white and green.

Thank you for dropping by my blog, please like and comment if you like.


https://www.facebook.com/creatingwithkristina/posts/pfbid0UpZvLKk5yKxSC4vzaDkhpUMJrxhLQpJUUHVq2x4FDuLKp5hXBVn1F1dyxV9zzptgl


Ana Raposo


Monday, March 17, 2025

Diagonal Split Card

Hello my stamping friends, may I share this lovely fun fold card with you, if you

are interested, please see below for the measurements and supplies. I also have a template to

help you in cutting the designer paper.

 
Card Base: 8 1/2 x 5 1/2

          inside card stock:  4 1/4 x 5 1/4

          Card Matt:  (Pink) 4 x 5 1/4

          Card Matt 2:  (Black & White) 3 3/4 x 5

          Oval die cut:  3 1/4 x 3 1/4

          Sentiments:  1/2" die cut and stamped layered on top of a pink strip size 2 1/4" x 1 1/8"

   I glued all the materials to card base and raised the oval die cut after stamping some sprinkle dots.

   I added the colored flowers and leaves by also raising them.  Don't forget to glue the inside white             base and stamp a saying.

   I just love the pink and black together it really makes a statement, I cased this card from Mary at

   Stamps-N-Langers.

  See you soon my friends.

  Ana  


SPRING FLOWERS


Hello, my stamping friends, may I share my spring flower card with you?  I had so much fun playing with this funfold, it was an easy fold and I got to share pretty designer papers on top of that.

Below I am sharing the measurements in case anyone wants to case this card.

card base:  5 1/2 x 8 1/2 and scored at 4 1/4
white cardstock for inside: 4 x 5 1/4
Front side strips to matt the designer paper:  two 1 1/4 x 4
Front side designer paper stips to top matt:  two 1 x 3 3/4
The card stock is the same as the front side strip matt color: 8 x 2 3/4 and scored at 4"
Strip of designer paper:  2 1/2 x 2 3/4
die cut emblessment of your choise
die cut for the sentiment
The designer paper and die cuts I used, was from Stampin Up

Let me tell you how I put this card together.

first I glued the white cardstock inside the card.
second I glued the middle card to the middle of the card and glued the designer paper on top.
third I glued the designer paper on the two strips and glued it to the card.
I placed a die-cut embellishment on the front of the card and I added a sentiment.
Don't forget the bling, bling, bling.  I still need to put mine on.
Enjoy making your card!


yours truly Ana

Friday, March 14, 2025

LACY FRAME


Halloween Shaker Card

Hello, my crafty Friends! This Halloween shaker card is fun and easy to make. Try it yourself.
 

BUTTERFLY FUNFOLD CARD


Card Base Measures:  4 ¼” x 11”

And Score at 1 ¼” and 8 ¾”

DSP for bottom front measures:  4” x 4”

DSP for top font measures:  2”x 4”         

White cardstock that measures: 4x4”

Two embellishments, I have butterflies

One circle punch or die those measures: 1 ¾” out of the cardstock color

One circle punch or die those measures: 1 ½” out of the white cardstock

One strip of white cardstock for birthday sentiment that measures:  1” x 4”


Let’s fold up the bottom of cardstock and fold down the top cardstock.

Glue the DSP on bottom and top of the cardstock.

Glue the white 4 x 4” inside the card.

Open up the card and cut out the largest circle through the top of the card making sure you are near the right side of the card.

Glue the two circles together and attach to the hole on the card, place a medium butterfly in center.


Glue a large butterfly with three dimensionals on bottom of butterfly and attach to card.

Stamp a birthday sentiment on the white strip and attach it to card.

Stamp a sentiment inside of the card.


Butterfly


https://lovethoseprettypapers.blogspot.com/2025/03/atg-using-pretty-patterned-paper-march.html

I absolutely love using patterned paper, there are so many designs how can 

Anyone resist.

I made this card using a beautiful pattern of butterflies in the background.


Here are the measurements and supplies I used below:

Card Base:  4 1/4  x 5 1/2 out of white card stock.

Card Matt:  4 x 5 1/4 

2nd. Card Matt:   3 3/4  x 4 3/4 this is the designer paper

Strip: 1 x 3 3/4

Decorative scallops circle:  2 1/2  X  2 1/2

A decorative butterfly and embellishments if desired.


I used mint-colored hearts for my embellishments and a sticker butterfly.


This card is a simple card with a wow factor.


May I play in this challenge: love those pretty papers 3/1 - 3/30 AG with pretty papers


Happy crafting my friends, Ana

Tuesday, March 11, 2025

EASTER BUNNY


Hello my stamping friends, I have a cute bunny ready to celebrate your Easter, she is

All dressed up and ready to go celebrate. Lol


This bunny is playing in the Atlantic Hearts Sketch Challenge and is so happy to do so.


Please let me show you the supplies I used, in case you would like to case it.


Materials:

Old Olive card base measuring, 4 1/4  x  5 1/2

White Matt measures, 4  x 5 1/4

Yellow Matt measures, 3 3/8 x 5 and I dry embossed it.

Flowered strip measures, 2 x 4 1/2


Stamped the bunny on white card stock colored it and cut it out with a hexagon die, I raised it up.  This die also has a border that it cut out and I colored it and glued it to

The card.


I embellished it with three yellow dots and added a sentiment.


I think he came out cute!


May I please play in the following fine challenge?

Atlantic Hearts #620 challenge


https://atlanticheartschallenge.blogspot.com/


Monday, March 10, 2025

HAPPY EASTER BUNNY


Hello everyone today I am bringing you a Bunny card since Easter is approaching,


You might enjoy seeing it.

I had a lot of fun playing with this stamp set.

I am sharing the supplies and measurements below for anyone who might

need them.


Card Base:  4 1/4  X  5 1/2

Card Matt:  4 1/2  x 5”

Rectangle die, I used a radiating one

Oval die:  2 3/4 x 3 3/4

Bunny die cut: 1 1/2  x  2”

Sentiment die of choice

Embellishments of choice


First I die cut the Matt with the radiating die, this does  not cut it just

Makes the design.  Then it was glued to the card base.

With the oval die, you cut out two one with white cardstock and the other 

In yellow.  If you notice, this die has a decorated border.

Glue the yellow border then glue the plain white one in the center.

At this time go ahead and stamp your bunny and butterfly on

Its nose  then color, fussy cut it out, and using dimentionals raise

Bunny up on the white oval.

Make a sentiment and place it on the card.

Use embellish as desired.

I used Stamping Up supplies to make this card.

Hope you’ll try making one.


I enjoy playing on these challenges:  

https://lovethoseprettypapers.blogspot.com/

ttps://hqcelebrationsoflovechallenges.blogspot.com/

https://2craftycrittercrazies.blogspot.com/2025/03/challenge-96-anything-goes-featured.html


 Period: March 2-31, 2025 will be competition #3 for 2025.


https://hqcelebrationsoflovechallenges.blogspot.com/

Easter challenge

BIRTHDAY DINOSAUR


Hello, my stamping friends, I made this adorable dinosaur card and he's celebrating someone's birthday.

I have been having so much fun playing with this dino set.

I hope you like him as much as I do.

Let me share the supplies I used with you,


The card base measures, 41/4 “x 51/2”

I top it with a purple card stock measuring, 4” x 5 1/4” and I embossed it with the dashing designs from Stamping Up.


 I used two die cuts for the front, the plain one measures 3 3/4” the other one with scalloped edge measures 2 1/2” x 4 1/2” .

I die-cut three balloons and the dino after I colored with the alcohol blends.

I stamped the grass on the front die cut, (oh no) I saw an oopsie—ha ha—the grass looks like it's drunk.

I  added decorative gems, it looks nice.

I glued the balloons and dino in the center along with the sentiment and called it a day.

let me know what you think!

I think it came out T-RRIFIC!


until next time my friends, Ana Raposo, Hugs


Challenge #96-- Anything Goes Featured Critter theme


Monday, March 3, 2025

Darling Dinos


Hello, my friends. I am so happy to be able to play in this challenge, Anything Goes Featured Critter #96. This will be my first attempt at this challenge, and it's so much fun. Looking at the other entries it's very inspiring.  

Today I bring you a Dinosaur critter wishing you a happy birthday and it looks like he's waiting for friends to come to his party. Lol.
Have a DINO-mite kind of day...

I hope my card pleases the eye, I know it did mine.


Sunday, March 2, 2025

Mixed Florals


Hi friends, hope everyone is having a great Sunday afternoon, I know I did since I was playing with the mixed florals stamp set from Stampin Up.  

Below you will see what I came up with, I hope you like it as much as I do.

I started with a medium pink cardstock for the card base which is 4 1/4" x 5 1/2".

The pink floral designer paper is 3 1/2" x 3 1/2". the green one is 1". x 3". the peach- colored one 

is 1/4" x 2 1/2".

The floral die cut is from the Mixed Floral stamp that I colored and die cut it,  this was raised up with dimensionals. 

I adhered sentiment and raised it up.  

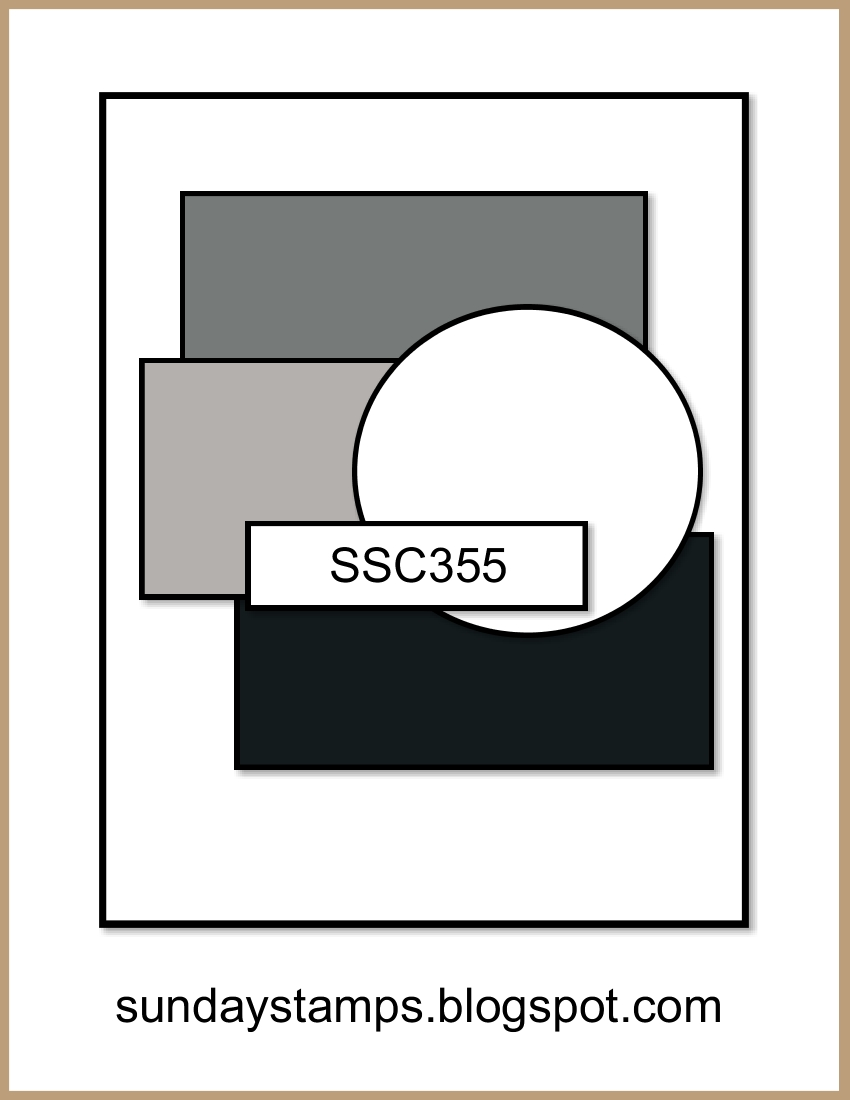
I am so excited to be playing in this challenge,and using this awsome ske

https://sundaystamps.blogspot.com/2025/03/ssc355-layered-up.html


Fun Scrappy card

  Good   morning stamping friends.  I  am bring another fun card, this time, it’s a scrappy card, we all know everyone hordes those scraps. ...