Showing posts with label stampin Up. Show all posts

Tuesday, April 8, 2025

LATTICE OF LIFE


Hello my stamping friends, 
One design that consistently catches the eye is the lattice card with cascading flowers.
This design isn’t just visually stunning—it tells a story. It merges intricate geometric shapes with nature’s organic beauty, creating a card that feels both sophisticated and charming. Let’s dive into what makes the lattice card with cascading flowers so special, and why it might just be the perfect card for your next project.

 The beauty of a lattice card with cascading flowers lies in its understated elegance. The intricate design doesn’t need to be overly embellished; the natural beauty of the flowers and the geometry of the lattice speak for themselves.  I also forgot to mension the this card is also a Z-fold.
Here is the measurements I use to make this card;
card base:  4 1/4 x 11 and scored at 2 3/4, 5 1/2
Insert:  white cardstock 3 1/4 x 9 and scored at 2 1/4 , 4 1/2, 
for the front
pink DSP: 3 x 4 1/4 layer this goes on top of the white cardstock.
green DSP:  2 5/8 x 4 , this goes behind the Trellis. 
die-cut some flowers and sprigs and use it to embellish the 
trellis.  Add a sentiment of your choice.
the middle of the flowers have a small clear gem, that gives the card some character.

Toadily, Ana Raposo


Friday, March 14, 2025

LACY FRAME


BUTTERFLY FUNFOLD CARD


Card Base Measures:  4 ¼” x 11”

And Score at 1 ¼” and 8 ¾”

DSP for bottom front measures:  4” x 4”

DSP for top font measures:  2”x 4”         

White cardstock that measures: 4x4”

Two embellishments, I have butterflies

One circle punch or die those measures: 1 ¾” out of the cardstock color

One circle punch or die those measures: 1 ½” out of the white cardstock

One strip of white cardstock for birthday sentiment that measures:  1” x 4”


Let’s fold up the bottom of cardstock and fold down the top cardstock.

Glue the DSP on bottom and top of the cardstock.

Glue the white 4 x 4” inside the card.

Open up the card and cut out the largest circle through the top of the card making sure you are near the right side of the card.

Glue the two circles together and attach to the hole on the card, place a medium butterfly in center.


Glue a large butterfly with three dimensionals on bottom of butterfly and attach to card.

Stamp a birthday sentiment on the white strip and attach it to card.

Stamp a sentiment inside of the card.


Butterfly


https://lovethoseprettypapers.blogspot.com/2025/03/atg-using-pretty-patterned-paper-march.html

I absolutely love using patterned paper, there are so many designs how can 

Anyone resist.

I made this card using a beautiful pattern of butterflies in the background.


Here are the measurements and supplies I used below:

Card Base:  4 1/4  x 5 1/2 out of white card stock.

Card Matt:  4 x 5 1/4 

2nd. Card Matt:   3 3/4  x 4 3/4 this is the designer paper

Strip: 1 x 3 3/4

Decorative scallops circle:  2 1/2  X  2 1/2

A decorative butterfly and embellishments if desired.


I used mint-colored hearts for my embellishments and a sticker butterfly.


This card is a simple card with a wow factor.


May I play in this challenge: love those pretty papers 3/1 - 3/30 AG with pretty papers


Happy crafting my friends, Ana

Tuesday, March 11, 2025

EASTER BUNNY


Hello my stamping friends, I have a cute bunny ready to celebrate your Easter, she is

All dressed up and ready to go celebrate. Lol


This bunny is playing in the Atlantic Hearts Sketch Challenge and is so happy to do so.


Please let me show you the supplies I used, in case you would like to case it.


Materials:

Old Olive card base measuring, 4 1/4  x  5 1/2

White Matt measures, 4  x 5 1/4

Yellow Matt measures, 3 3/8 x 5 and I dry embossed it.

Flowered strip measures, 2 x 4 1/2


Stamped the bunny on white card stock colored it and cut it out with a hexagon die, I raised it up.  This die also has a border that it cut out and I colored it and glued it to

The card.


I embellished it with three yellow dots and added a sentiment.


I think he came out cute!


May I please play in the following fine challenge?

Atlantic Hearts #620 challenge


https://atlanticheartschallenge.blogspot.com/


Monday, March 10, 2025

BIRTHDAY DINOSAUR


Hello, my stamping friends, I made this adorable dinosaur card and he's celebrating someone's birthday.

I have been having so much fun playing with this dino set.

I hope you like him as much as I do.

Let me share the supplies I used with you,


The card base measures, 41/4 “x 51/2”

I top it with a purple card stock measuring, 4” x 5 1/4” and I embossed it with the dashing designs from Stamping Up.


 I used two die cuts for the front, the plain one measures 3 3/4” the other one with scalloped edge measures 2 1/2” x 4 1/2” .

I die-cut three balloons and the dino after I colored with the alcohol blends.

I stamped the grass on the front die cut, (oh no) I saw an oopsie—ha ha—the grass looks like it's drunk.

I  added decorative gems, it looks nice.

I glued the balloons and dino in the center along with the sentiment and called it a day.

let me know what you think!

I think it came out T-RRIFIC!


until next time my friends, Ana Raposo, Hugs


Challenge #96-- Anything Goes Featured Critter theme


Monday, March 3, 2025

Darling Dinos


Hello, my friends. I am so happy to be able to play in this challenge, Anything Goes Featured Critter #96. This will be my first attempt at this challenge, and it's so much fun. Looking at the other entries it's very inspiring.  

Today I bring you a Dinosaur critter wishing you a happy birthday and it looks like he's waiting for friends to come to his party. Lol.
Have a DINO-mite kind of day...

I hope my card pleases the eye, I know it did mine.


Sunday, March 2, 2025

Mixed Florals


Hi friends, hope everyone is having a great Sunday afternoon, I know I did since I was playing with the mixed florals stamp set from Stampin Up.  

Below you will see what I came up with, I hope you like it as much as I do.

I started with a medium pink cardstock for the card base which is 4 1/4" x 5 1/2".

The pink floral designer paper is 3 1/2" x 3 1/2". the green one is 1". x 3". the peach- colored one 

is 1/4" x 2 1/2".

The floral die cut is from the Mixed Floral stamp that I colored and die cut it,  this was raised up with dimensionals. 

I adhered sentiment and raised it up.  

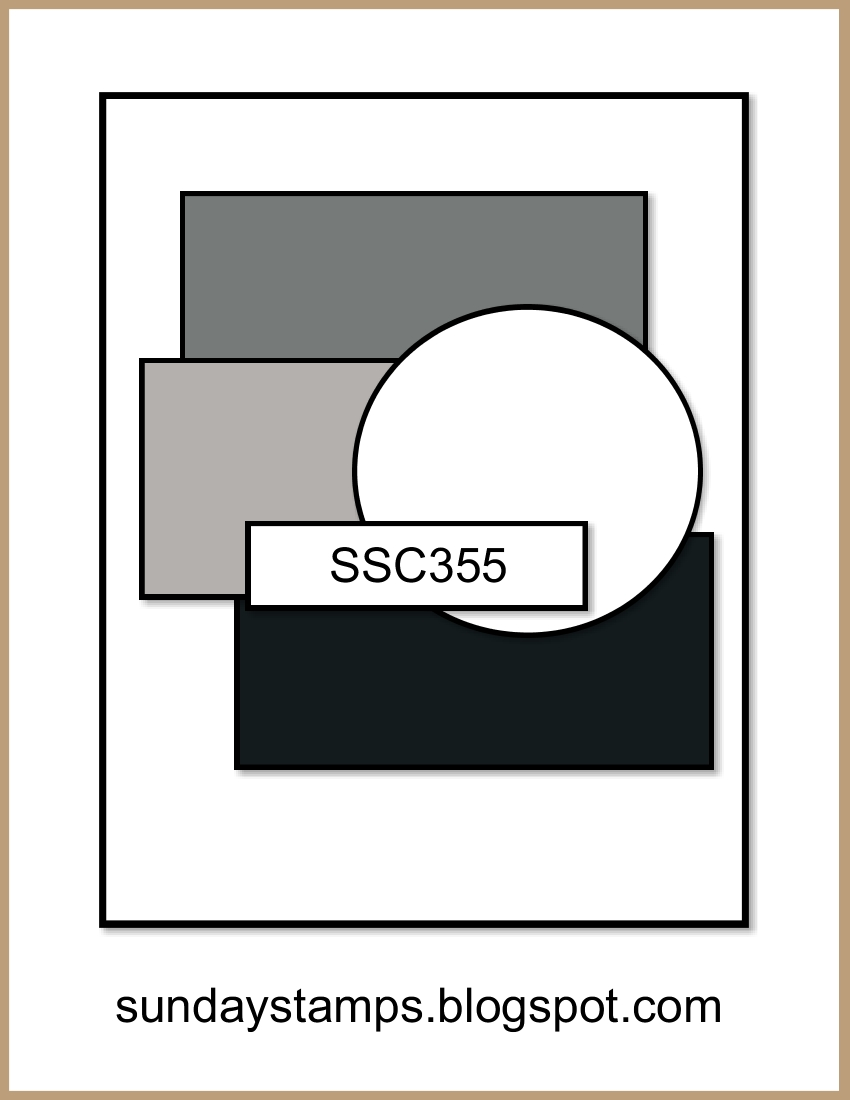
I am so excited to be playing in this challenge,and using this awsome ske

https://sundaystamps.blogspot.com/2025/03/ssc355-layered-up.html


Wednesday, February 26, 2025

Anniversary Roses


Hello, my friends. I am coming here today to share my Anniversary Roses with you.

I had so much fun making this card especially when my favorite roses are yellow.


Materials I used:


I used the Layers of Beauty stamp and die set from Stamping Up.  That came with stencils.


These roses and leaves were done by using garden green ink along with Pineapple punch ink, I used a brush for each color and stenciled the colors following the number on the stencils.  Oh, that was so much fun.


I used the Radiating Stitches dies border for the dies and Deckle dies.

I used a new embossing folder called Starstruck from Stamping Up. What a cute embossing folder that is and so dainty, it looks like small daisies.


I opt to use yellow, green, and white card stock paper for the card.


Hope you like my card as much as I do.  Thanks for dropping by, see you soon.


Now I am going to play some more with another color. He He He.


From Ana Raposo's stamping corner


Tuesday, October 22, 2024

FILLED WITH CHEER


On Sunday, I played with fun with cheer stamp from Stampin Up, and let me tell you it was a lot of fun.

I used Navy blue cardstock measuring 4 ¼” by 5 ½” and topped it with a white cardstock measuring 4” by 5 ¼”.

I also used a strip of designer paper measuring 1 ¾’” by 5” that coincided with the base color.

You will also cut a 3 ¾” by 3 ¾” piece of navy blue card stock and glue it to the center of the card.

Next, you will stamp your filled-with-cheer snowman on a 3 ½” by 3 ½” piece of white cardstock. I also stamped the sentiment below the snowman color it as you desire and glue that to the top of the navy-blue square.

All you need to do now is embellish it and finish the inside as desired.

yours truly,

Ana


Saturday, September 21, 2024

LABELED WITH LOVE


 Hello Friends!  I made another fun card and let me tell you how and what I used.

First, I have a black card base measuring 5 ½ x 8 ½ and scoring at 4 ¼.  I cut out a mat at 4” by 5 ¼” then using the labeled with love dies I die cut three die cuts spacing on the card base and dry embossed with the basics 3D embossing folders.

I cut a 4” x 5 ¼” piece of Dalias DSP glued it to the card base then glued the embossed piece on top.

I then stamped three butterflies from the labeled with love stamp set in different colors and fussy cut them out.  I also stamped the sentiment in the desired ink color on a strip of cardstock. 

I glued the butterflies and sentiment to the card.

Thursday, September 5, 2024

FESTIVE & BRIGHT (SPOOKY CARD)


Happy Halloween my friends!

There’s nothing spooky about this card.  Let’s all have fun making cute Halloween cards and share them with your friends.

Supplies Used:

Black card stock:  4 ¼” x 5 ½ “

White card stock:  1 ¾” x 5 ¼”

DSP:  ½” x 5 ¼”

Stamp & Die:  Festive & Bright set


Hello crafty friends, let’s have fun and make a Halloween card.  This one I made is easy and friendly not all cards have to be creepy. 

From the Festive and Bright stamp, I stamped and colored the witches’ hats and brooms a die comes in the set to cut out the witches’ hats and brooms use it to cut it out, and stamp and cut out the spooky banner along with the Ghost.

Now glue all of it to the black cardstock,  don’t forget the inside of the card, I used white cardstock 5 ¼ x 4”.


THANKFUL THANKSGIVING


SUPPLIES USED:    

Beije cardstock: 2 pcs. 4" x 5 1/4 "

Brown cardstock:  8" x 11" and scored at 5 1/2

Ink:  crumb cake

stamps:  Time of Giving from Stampin Up

Dies:  Autumn Leaves from Stampin UP, rectangle dies 

Gold Tinsel embossing powder

3 1/4" circle die

3 3/4" circle die

Banner die for the sentiment

Gold specialty cardstock:  for Leave


Hello friends!  You know that Thanksgiving is getting closer and I have been working on my fall cards, so today I finished one of my Thanksgiving cards, The supplies I used are listed above, and below you will find how I made them.  I hope you will make one also, I had a lot of fun working on this card.

1. I cut out my cardstock to the size mentioned above, the beige cardstock, I die cut the border with the rectangle border dies.

2. I stamped the whole cardstock using crumb cake ink, with the leaves using the stamp from the Time of Giving stamp set.

3.  Cut out the circles, the larger circle out of the brown cardstock and the smaller one out of the beige cardstock, I glued the beige one to the brown circle, then I glued them to the beige card front and then glued them to the brown card front.

4.  I stamped a leave on the piece of cardstock that goes inside and glued it to the inside of the card.

5.  I die cut a leaf and the inside of the leaf in gold specialty cardstock using the Autumn Leaves Die set, I then glued it to the circle.

6.  Lastly, I stamped the word Thankful with VersaMark Watermark stamp  I sprinkled the word with the gold tinsel embossing powder and heat embossed it.

7. Raise it up on the card.


That finishes my card.  It sounds like a lot of work, but it really isn’t.


Friday, August 16, 2024

PUMPKINS


Hello, my friends! I worked on this card using the Pretty Pumpkins stamp set from Stampin" Up.

Instructions are below for the measurements:

Card Base:  4 1/4 "  x  5 1/2"

Card top:  4"  x  5 1/4"

Strips:  (3) 1"  4  1/4"


1)  I embossed the 4' x 5 1/4 "  card topper with the embossing folder, called Basics 3D from stamping Up, cut it out with the rectangle die, and glued it to the card base.

2)  Glued the strips on top placing them evenly across.

3) Die-cut the fancy pumpkin and set it aside.

4)  Using the other pumpkin, color it with the water based markers to desired liking, using your breath, huff on the stamp and stamp it on white card stock.

5)  Cut out some leaves.  Decorat the frontP of the card using the pumpkins and leaves.

6)  Place a sentiment.  That's it.


Sunday, July 28, 2024

COUNTING SHEEP


I made these two birthday cards for a little girl whom my daughter knows.   They came out super cute in monochromatic. 

I used the counting sheep stamp and Die cut from Stampin Up and another oval die from another company I don’t remember where I got it from.


Tuesday, March 12, 2024

Scrappy Card


 Hello everyone, are we all okay?

Today I have a card that will use some of your scraps.


Supplies:

3 different colors of cardstock with the measurements 1 ½” x 4”

Make sure colors are matching, it can be monochromatic or colors that just match.


The base for the card: is 4 ¼” x 8 ½” scored at 4 ¼” whatever color that goes with your strips.


A two-inch circle for sentiment.

A something that is stamped colored and glued to the circle.

Ribbon bow, if desired.

The inside panel is 4 x 5 then stamped with a sentiment.


DIAMOND FLIP FOLD

  DIAMOND FLIP FOLD THE FOLLOWING MEASUREMENTS ARE WHAT I USED. CARD BASE:  4 1/4  X 11 AND SCORED @ 2 1/8 X 5 1/2 3- BLACK MATS 3 1.4 X 4 1...