

Showing posts with label die cut. Show all posts
Showing posts with label die cut. Show all posts
Friday, March 14, 2025

Butterfly

I absolutely love using patterned paper, there are so many designs how can
Anyone resist.
I made this card using a beautiful pattern of butterflies in the background.
Here are the measurements and supplies I used below:
Card Base: 4 1/4 x 5 1/2 out of white card stock.
Card Matt: 4 x 5 1/4
2nd. Card Matt: 3 3/4 x 4 3/4 this is the designer paper
Strip: 1 x 3 3/4
Decorative scallops circle: 2 1/2 X 2 1/2
A decorative butterfly and embellishments if desired.
I used mint-colored hearts for my embellishments and a sticker butterfly.
This card is a simple card with a wow factor.
May I play in this challenge: love those pretty papers 3/1 - 3/30 AG with pretty papers
Happy crafting my friends, Ana
Sunday, March 2, 2025
Mixed Florals

Hi friends, hope everyone is having a great Sunday afternoon, I know I did since I was playing with the mixed florals stamp set from Stampin Up.
Below you will see what I came up with, I hope you like it as much as I do.
I started with a medium pink cardstock for the card base which is 4 1/4" x 5 1/2".
The pink floral designer paper is 3 1/2" x 3 1/2". the green one is 1". x 3". the peach- colored one
is 1/4" x 2 1/2".
The floral die cut is from the Mixed Floral stamp that I colored and die cut it, this was raised up with dimensionals.
I adhered sentiment and raised it up.
I am so excited to be playing in this challenge,and using this awsome ske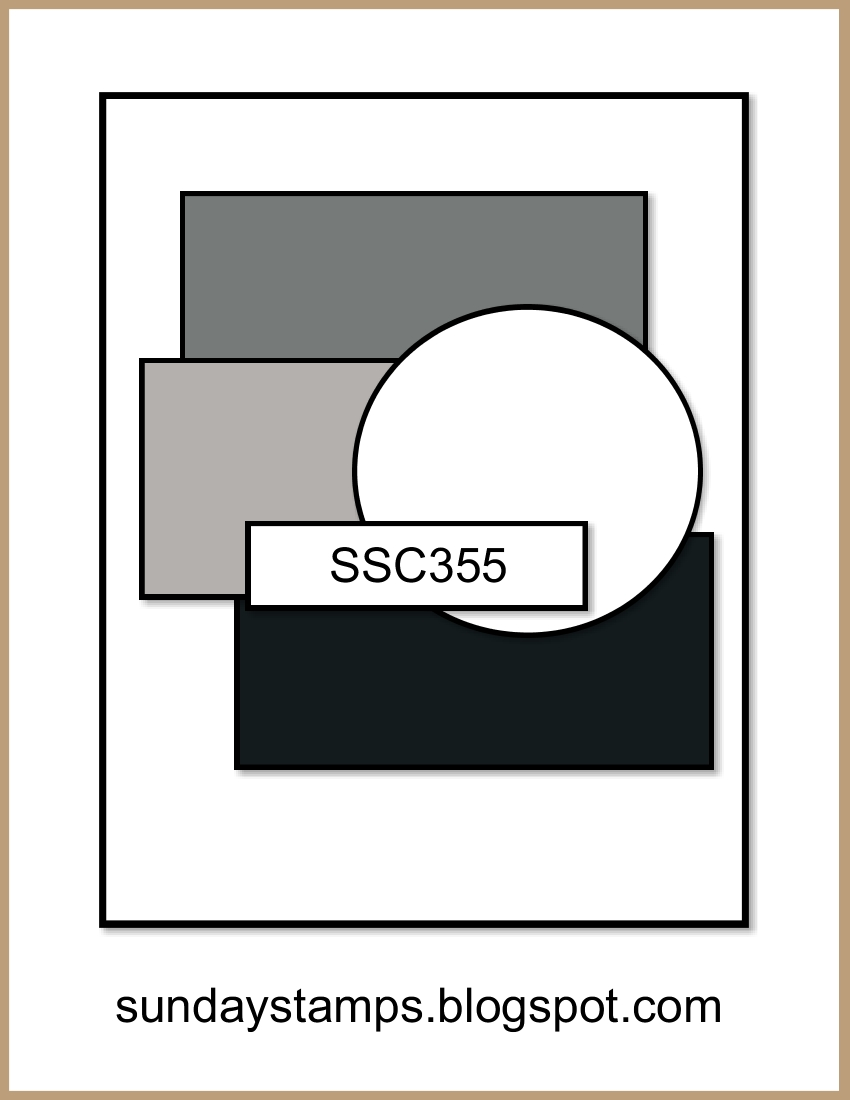
https://sundaystamps.blogspot.com/2025/03/ssc355-layered-up.html
Wednesday, February 26, 2025
Anniversary Roses

Hello, my friends. I am coming here today to share my Anniversary Roses with you.
I had so much fun making this card especially when my favorite roses are yellow.
Materials I used:
I used the Layers of Beauty stamp and die set from Stamping Up. That came with stencils.
These roses and leaves were done by using garden green ink along with Pineapple punch ink, I used a brush for each color and stenciled the colors following the number on the stencils. Oh, that was so much fun.
I used the Radiating Stitches dies border for the dies and Deckle dies.
I used a new embossing folder called Starstruck from Stamping Up. What a cute embossing folder that is and so dainty, it looks like small daisies.
I opt to use yellow, green, and white card stock paper for the card.
Hope you like my card as much as I do. Thanks for dropping by, see you soon.
Now I am going to play some more with another color. He He He.
From Ana Raposo's stamping corner
Tuesday, February 25, 2025
BAXTER THE DOG SENDING HAPPY THOUGHTS

TODAY I FINISHED THE CARD WITH BAXTER THE DOG, IT'S A TAKE OF A CARD THAT MY FRIEND DONNA ELLIS MADE. I HAD SO MUCH FUN MAKING THIS CARD.
CARD BASE: 5 1/2" X 6"
FIRST MATT: 5 1/2 X 5"
SECOND MATT: 4 1/4 X 5 1/2". I EMBOSSED IT AND ALSO USED THE KISS TECHNIQUE WITH CRUMB CAKE INK.
THIRD MATT: I USED A SCALLOP FRAME.
FOURTH MATT: I USED THE INSIDE OF A SCALLOP DIE.
LAST MATT: I STAMPED MY BASTER COLORED IT.
GLUED ALL OF THE LAYERS AND DIE CUT A BANNER FOR THE LEFT-HAND TOP CORNER,
CUT OUT A GOLD ZIG ZAG AND ATTACH IT TO THE RIGHT SIDE.
THE SENTIMENT WAS SMALL BUT WENT WELL ON THE CARD.
I am very sorry for typing in caps, I just learned what it means.
I am excited to play at Sunday's Stamps Color Challenge #354
Monday, March 22, 2021
BIRTHDAY FLOWERS

Today I am bringing a Happy Birthday flower card...
it's a basic 4 1/2 by 6 card, using a green card base and a yellow cardstock 4 1/4 by 5 3/4 to top it.
Topping it with a pretty flower die 4 by 5 1/2.
This die comes with the Happy Birthday cut-out letters, so I cut two letters out of each letter and glued each letter onto each other, and glued it to the card I then brushed it with wink a stella then I couldn't just stop there, so of course, I added some diamond bling.
SPRING BIRTHDAY CARD

This A2 card with the measurements of 4 1/4 by 5 1/2 inches is on white cardstock.
Topped with a deep purple piece of cardstock 4 / 5 1/4 inches.
This is where the fun begins, On a white piece of cardstock size 3 3/4 by 5 inches, I blended it with lavender ink then I dry embossed with a flowered embossing folder and glued it to the purple cardstock.
I fussy cut a leafy frame out of white cardstock and stamped happy birthday and glue it to the purple embossed paper.
Added three clear gems to brighten up the card.
😊
HYDRANGEA

Stamped a Hydrangea flower on white card stock colored it with Prisma colored pencils. Using a frame die I cut it around the flower and with a finger dauber, I blended the same color of green ink around the frame.
I then added some Nuvo drops and this is where I made an oopsie when I put it on the green part of the card, it turned green instead of white. I also added three green sequins and a green bow.
Thursday, March 11, 2021
R U KITTEN ME

I dried embossed a white piece of white cardstock size was 3 3/4 by 5 with an embossing folder from The Paper Studio, which I really don't know what the name is, but if anyone knows what it's called, please let me know. I passed a lilac-colored distress ink pad through it to get some color and glued it to the top of the purple cardstock.
Glued the rectangle die cut of the girl on top of it and placed a cute sentiment on top of the girl.
Hope you think it's cute, I do.
Wednesday, March 10, 2021
HELLO FRAME CARD

Here is How I made my card.
First, I cut a 4 by 5 ¼ card base in white cardstock. I blended
green pigment ink with a brush until I got the desired color I liked. I then rubbed a white pigment ink pad over
the raised flowers, to give them an interesting background.
I then dry embossed it with a Darice flowered embossing
folder glued it to my base card.
Again, I dry embossed another piece of 4 by 5 ¼ card stock in
white with another Darice embossing folder which I cannot recall the name, I
cut the center out with a large oval die and then glued it down to the green
leaf leaves. I cut two of the patterned ovals
die to make a frame around the opening and glued them both together to give it
stability and glued it down on the card.
It took me a bit of time to make this card but I truly enjoyed making it.
Subscribe to:
Posts (Atom)
DIAMOND FLIP FOLD
DIAMOND FLIP FOLD THE FOLLOWING MEASUREMENTS ARE WHAT I USED. CARD BASE: 4 1/4 X 11 AND SCORED @ 2 1/8 X 5 1/2 3- BLACK MATS 3 1.4 X 4 1...

-
Hello my stamping friends, I am here again to show you my swallowtail butterfly card. may I tell you how I made it? First let me tell you ...
-
 Inside of card Back of card Hey, my crafty friends, I made this Christmas card today, even though Christmas is four months away, but you k...
 -
 Good Morning stamping friends. I have a corner fold or sometimes called a corner tuck. I used a plain light blue color for the card matt and...
